Saturday, June 25, 2011

We love our CSA!

We have been participating in a CSA this year for the first time.  Here in the US, CSA stands for Community-Supported Agriculture.   We are participating in the Firsthand Farmers Cooperative.

Here's the CSA blurb from Wikipedia 

"Community-supported agriculture, a form of an alternative food network, (in Canada Community Shared Agriculture) (CSA) is a socio-economic model of agriculture and food distribution. A CSA consists of a community of individuals who pledge support to a farming operation where the growers and consumers share the risks and benefits of food production. CSAs usually consist of a system of weekly delivery or pick-up of vegetables and fruit, in a vegetable box scheme, and sometimes includes dairy products and meat."

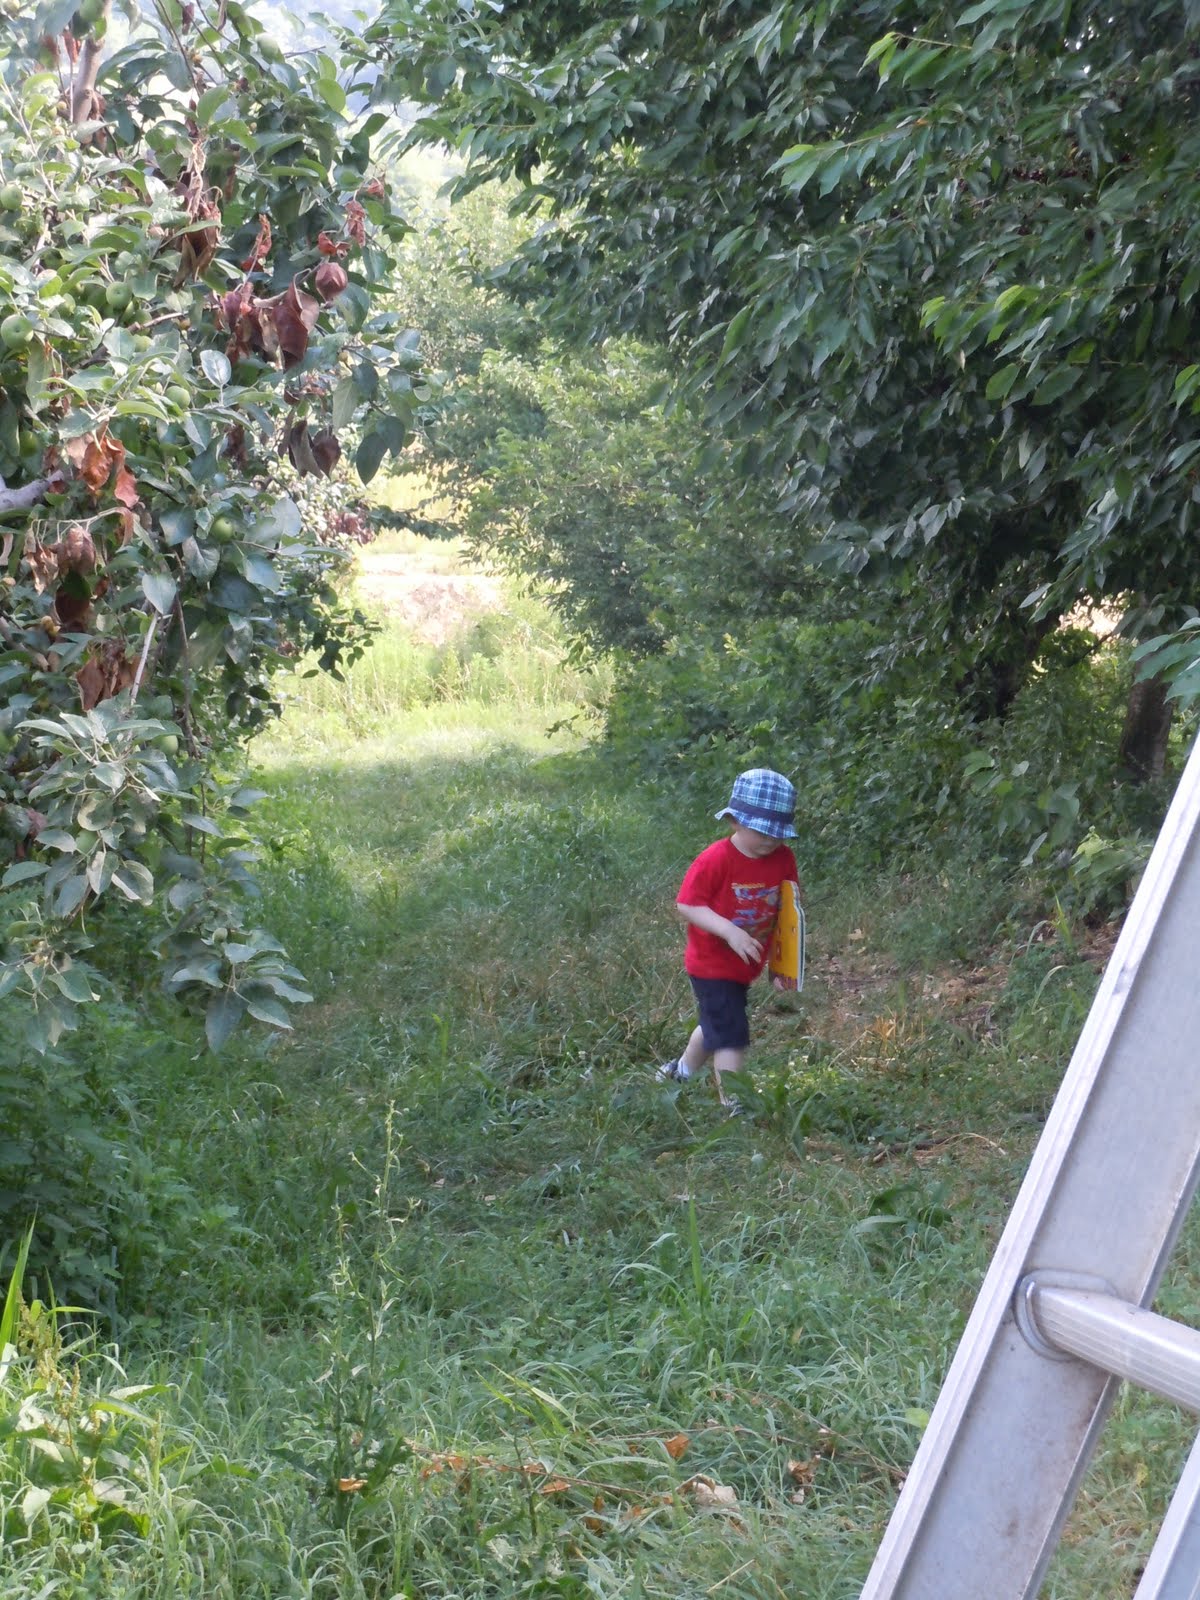
We're loving our experience and loving the uber-fresh veggies, eggs and butter that we're receiving.  I didn't photograph the first week's share (Asparagus, Mixed Salad Greens (arugula, mizuna, tatsoi, etc.), Spinach,   Buttercrunch Lettuce, Kale), but here are the photos of the other weeks thus far.

Week 2: May 12, 2011.  Clockwise from bottom:  carrots, chard, spinach, butter, thistle honey (bought separately), baby turnips, eggs, lettuce

Week 3:  May 19th   clockwise from bottom: easily identified strawberries, garlic scapes (tops), spring onions, kale, radishes, lettuce mix, eggs & half pound of butter.


Week 4:  May 26th  Clockwise from bottom:  snap peas, asparagus,  lettuce (in bag), spring onions, garlic scapes, chard.  We also got the eggs and butter, but I must have already put them in the fridge :-)

Week 5: June 2nd.  Clockwise from bottom:  butter, spring onions, eggs, beets, garlic scapes, snap peas, lettuce (light and dark), broccoli.  We also purchased 4 quarts of strawberries that day.

Week 6:  June 9.  Clockwise from bottom:  radishes, scallions (green onions),  lettuce, broccoli, kolhrabi, fresh garlic, red lettuce, bok choi.


 Week 7:  June 16.  Clockwise from bottom left:  fresh garlic, yellow squash & zucchini, eggs, blueberries!!!, cabbage, mesclun salad mix (in bag), butter, chard, white onion, red onion.


Week 8:  June 23.  Clockwise from bottom:  Zucchini & cucumbers, new potatoes, eggs, beets, fennel, white onion, tomatoes (grown in a hoop house, this is even early for VA).  This is a typical early summer share.

 It has been neat to try all these lovely vegetables, some of which I've never had (or prepared) before (kohlrabi,  fennel, fresh garlic) or not very often (beets, not in a pickled form).  Many checks on the internet for recipes to include these lovelies.  Lots of tasty recipes including:  Campanelle Noodles with Asparagus and Sundried Tomatoes from the Six O'Clock Scramble (that'll be a whole other post sometime, we love it too!!!), we made it the same day we received our asparagus and I don't think I'd ever eaten asparagus that fresh.  Wow!!!  It was so good, and I like asparagus normally.   We also made Stir-fried Bok Choi with a Cashew Sauce.  This recipe came from Kathryn Bertoni (of Appalachia Star Farm and CSA manager for Firsthand Farmers Cooperative) in our CSA newsletter the week we got the bok choi.  Yum!!!  It's from:  Asparagus to Zucchini - A Guide to Cooking Farm-Fresh Seasonal Produce.  It is put out by the Madison (Wisconsin) Area Community Supported Agriculture Coalition.  All of the recipes are from CSA farmers or CSA members.

STIR-FRIED BOK CHOI WITH CASHEW SAUCE

1/2 cup raw cashews
1/4 cup white wine vinegar
1/4 cup sugar
1/4 cup soy sauce
1 Tbs. minced gingerroot
pinch of red pepper flakes
1 1/2 pounds of bok choi
1/4 cup peanut oil

Toast cashews in a dry skillet, tossing frequently, until lightly brown and fragrant.  Combine cashews, vinegar, sugar, soy sauce, ginger, red pepper flakes, and 2-4 Tbs. water in a blender or food processor; puree until smooth.  Set aside.  Wash bok choi stems and leaves well, making sure to rinse away dirt in the ribs.  Separate the bok choi leaves from the stalks.  Cut stalks into 1-inch pieces and roughly chop leaves.  Heat peanut oil in a large skillet over high heat until hot but not smoking.  Add bok choi stems and cook, stirring often, until crisp-tender, 2-3 minutes.  Add the leaves and cook until they wilt and turn bright green, another minute or so.  Remove to a platter and cover with cashew sauce, or serve sauce on the side.

If you like what you see AND you're in the Central Virginia area, there are still openings for Session 2 of the Firsthand Farmers Cooperative CSA which start the week of August 29th.  All the details can be found at the Firsthand Farmers Cooperative website.

Happy eating locally!

PS.  Although it may be too late for this year (especially in places with shorter growing seasons), here are a couple of CSA sites to help you if you happen to live in Quebec or Ontario.  There are Buy Fresh, Buy Local organizations in many areas that can help you find out more about ordering/purchasing from your local farmers.

Sunday, June 19, 2011

Father's Day

It's Father's Day.  I'm happy to wish my husband a very Happy Father's Day!  I'm sad that I don't get to wish my dad a Happy Father's Day for the second year.  This year was definitely not as raw with emotion as last year was.  He had only been gone for 4 months when Father's Day rolled around last year.  Yes, I'm thinking about him lots today, but it is a bit more detached and I'm not bawling my head off (yet).

I've been working on letters to my sponsor children all this week with the hopes of getting them out in the mail tomorrow...  3 done, 4 to go... hope the mail truck gets here late tomorrow!

Yesterday, we received another letter from Camilo, and this one was actually written over a week before the one we received on May 23.  There is a connection between this letter and Father's Day.  Camilo's father is not part of his life.  I knew this from his profile, but in this letter he asks for prayer regarding his dad:

"I ask you to pray for me and my family, especially for my father who we haven't seen for a long time, so that we can be together someday."

Camilo is not our only "fatherless" sponsor child.
Maria's father died in 2009. 
Tania's father is also deceased. 
Allan's father is not with them. 
Katherine's father is not with her family. 

It was actually a surprise to me when we received Loury & Denisse's packets which indicated that their fathers were living with and supporting them.  I was beginning to think that the only children who made it into the program were "fatherless".  There are many, many children in sponsorship programs who don't have fathers, but there are some whose fathers are alive and supporting them and in their lives.  I am so thankful for the impact my own dad had on my life, and though I can relate more to them since he has passed away, I still can't really understand what it is like to go through childhood without a dad.

This makes it so important for sponsors, that we share the love of Jesus and of their heavenly Father with them.

So this month, for the younger children (already sent it to the older girls), I am sending a copy of  Father's Love Letter (available in 95 languages, including Spanish and Creole for my sponsor children).  There is actually a comic strip version for younger kids & a colorful poster in English and Spanish, which I'm going to  print off for them.

Here it is in English for you!


My Child,

You may not know me,
but I know everything about you.

Psalm 139:1
I know when you sit down and when you rise up.
Psalm 139:2
I am familiar with all your ways.
Psalm 139:3
Even the very hairs on your head are numbered.
Matthew 10:29-31
For you were made in my image.
Genesis 1:27
In me you live and move and have your being.
Acts 17:28
For you are my offspring.
Acts 17:28
I knew you even before you were conceived.
Jeremiah 1:4-5
I chose you when I planned creation.
Ephesians 1:11-12
You were not a mistake,
for all your days are written in my book.

Psalm 139:15-16
I determined the exact time of your birth
and where you would live.

Acts 17:26
You are fearfully and wonderfully made.
Psalm 139:14
I knit you together in your mother's womb.
Psalm 139:13
And brought you forth on the day you were born.
Psalm 71:6
I have been misrepresented
by those who don't know me.

John 8:41-44
I am not distant and angry,
but am the complete expression of love.

1 John 4:16
And it is my desire to lavish my love on you.
1 John 3:1
Simply because you are my child
and I am your Father.

1 John 3:1
I offer you more than your earthly father ever could.
Matthew 7:11
For I am the perfect father.
Matthew 5:48
Every good gift that you receive comes from my hand.
James 1:17
For I am your provider and I meet all your needs.
Matthew 6:31-33
My plan for your future has always been filled with hope.
Jeremiah 29:11
Because I love you with an everlasting love.
Jeremiah 31:3
My thoughts toward you are countless
as the sand on the seashore.

Psalms 139:17-18
And I rejoice over you with singing.
Zephaniah 3:17
I will never stop doing good to you.
Jeremiah 32:40
For you are my treasured possession.
Exodus 19:5
I desire to establish you
with all my heart and all my soul.

Jeremiah 32:41
And I want to show you great and marvelous things.
Jeremiah 33:3
If you seek me with all your heart,
you will find me.

Deuteronomy 4:29
Delight in me and I will give you
the desires of your heart.

Psalm 37:4
For it is I who gave you those desires.
Philippians 2:13
I am able to do more for you
than you could possibly imagine.

Ephesians 3:20
For I am your greatest encourager.
2 Thessalonians 2:16-17
I am also the Father who comforts you
in all your troubles.

2 Corinthians 1:3-4
When you are brokenhearted,
I am close to you.

Psalm 34:18
As a shepherd carries a lamb,
I have carried you close to my heart.

Isaiah 40:11
One day I will wipe away
every tear from your eyes.

Revelation 21:3-4
And I'll take away all the pain
you have suffered on this earth.

Revelation 21:3-4
I am your Father, and I love you
even as I love my son, Jesus.

John 17:23
For in Jesus, my love for you is revealed.
John 17:26
He is the exact representation of my being.
Hebrews 1:3
He came to demonstrate that I am for you,
not against you.

Romans 8:31
And to tell you that I am not counting your sins.
2 Corinthians 5:18-19
Jesus died so that you and I could be reconciled.
2 Corinthians 5:18-19
His death was the ultimate expression
of my love for you.

1 John 4:10
I gave up everything I loved
that I might gain your love.

Romans 8:31-32
If you receive the gift of my son Jesus,
you receive me.

1 John 2:23
And nothing will ever separate you
from my love again.

Romans 8:38-39
Come home and I'll throw the biggest party
heaven has ever seen.

Luke 15:7
I have always been Father,
and will always be Father.

Ephesians 3:14-15
My question is…
Will you be my child?

John 1:12-13
I am waiting for you.
Luke 15:11-32


Love, Your Dad
Almighty God
 
 
Permission to reprint:
Please feel free to copy and paste the text of Father's Love Letter to share with others
providing you abide by the following conditions...
1. You use the Father's Love Letter text in its entirety.
2. You do not use it for commercial purposes
3. You include the following copyright notice wherever it is displayed...
Father's Love Letter used by permission Father Heart Communications

©
1999-2011 www.FathersLoveLetter.com

Tuesday, June 14, 2011

It's Cherry Time! A Jam Making Tutorial

One of the things I like best about living in Central Virginia is the abundance of pick your own fruit.  We've come through strawberry season.  Now it's cherry time!  (A few early peaches are ready too, but that will have to wait... maybe until next week when the in-laws are here).

The kids and I headed out to Critzer Family Farm on the border of Albemarle & Nelson counties this morning.  I was very happy because the high for today was only going to be 27C/81F.  I do much better with this kind of temperature than the 90s and higher we had last week ;-) It's a small, family-friendly place and this morning it was not very crowded.


After we were done, there was time for throwing rocks in the pond.

I scream, You scream, We all scream for ice cream!


Enjoying their just desserts!
This is our second summer in VA and we went picking last year once, when Super-Awesome's parents were here.  We really needed Opa  to reach the ripe cherries where we went last year.  Today, we were able to pick lots, without needing a ladder. Super Beautiful and Super Map were able to reach some of the cherries, which was good, otherwise I would not be writing so fondly of our fun morning.  I learned that it is best to pick the cherries while keeping the stems on.  This helps them last longer, otherwise they deteriorate much quicker.  Unfortunately, I really only observed this after I had already picked a lot of cherries.  The fellow who was picking cherries for the farm had all the stems on his. Anyway, no big deal because I don't need to keep these cherries for a long time as I will be making jam, freezing them and we'll be eating them fresh in the next day or two.

We got to pick Rainier Cherries as well as the more customary Bing cultivar.   I was intrigued.  I thought they would make an interesting jam!  Last year, the early peaches we picked made pink jam because of their redder skins.  I wanted to see if I could have peach-coloured cherry jam...

If you've known me for longer than 2 days, you'll know I'm a huge fan of King Arthur Flour and their blog.  I've learned so much from their step-by-step (ooh baby!  whoops, that was a 90s moment, and wow, the hair, the clothes, the everything...it's actually painful to watch the whole way through!) photo instructions.  Imitation is the best form of flattery; so, I decided to document my jam making experience today a la KAF Blog style, in order to help "somebody" out there have the confidence to try making jam!  Please know I'm not an expert but I've learned a few tricks...  any suggestions would be welcome in the comments below!

I've chosen to make a lower sugar jam using Pomona's Universal Pectin.   I like my "jam" to taste more like fresh fruit.  So, I don't like to boil it forever (therefore needing pectin) and I don't like to add as much, or more, sugar than fruit (can't use regular pectin).  I guess I like to make fruit spread, and not jam at all...  but that's another debate!  Jam is shorter to type than fruit spread, so for all intents and purposes, we'll be using the term jam to describe what I am making.   We'll also be using the instructions from the Pomona box.


So we've gotten the fruit, which is the obvious step one.

You also need to prepare the jars by washing and sterilizing them.  Some newer dishwashers have a sterilize feature, but mine doesn't so I did the two step sterilizing.  Wash the jars by hand or by dishwasher and then immerse in hot water, bring to a boil for 5 minutes, keep them in the hot water until jam is ready.  (Why? No temperature shock and possible breakage from transferring near boiling jam into cold jars.)


Another early step, if you're using Pomona's Pectin is to make the Calcium powder according to the directions on the box.  1 pkg calcium powder in 1/2 cup water.  In a glass jar with a lid.  This keeps for months in the fridge.
Some helpful canning tools.  Kits of these sorts can be bought at the grocery store, big chain stores, specialty cooking stores or of course, online.  This is a very basic set, you can get super fancy stuff, but to start these are great.  


"Alrighty" then,  here's the basic recipe I used:

4 cups of sweet cherries (pitted, chopped & mashed)
1/4 cup of lemon juice
4 tsp.  calcium water

1 cup of sugar
3 tsp.  Pomona's pectin

The yield should be about 5 cups (40oz). (Both my batches yielded 36oz, presumably if I had added the higher sugar amount I might have made the 5 cup mark)
Let's get going!
Wash cherries and rinse and drain.
Remove stems and then pits (I use this nifty cherry/olive pitter, got it at my local B,B and B)
I started to chop the cherries by hand, and then I said... no way, this is crazy.  So I pulled out my food chopper and it reduced the workload like crazy.  I would guess if you had a food processor you could pulse it a few times and get a similar effect.
Ready to chop!
The result of 10 bangs (it's therapeutic!)
Measure chopped fruit into pot.  After you've done all four cups you should also mash the fruit... I forgot this step in my photo taking frenzy.
Add your calcium water to the mashed, chopped, pitted fruit.  We did 4 teaspoons (30ml) for this recipe.
Add the lemon juice.  For sweet cherries it's 1/4 cup (100ml).  Stir well.  (For the purists out there, I did use fresh lemon juice for batch two, either works!)


Turn heat on medium and bring fruit & juice & calcium water mixture to a boil slowly.     Meanwhile , measure your sugar.  We're using 1 cup in this recipe.  The range for Pomona's with this type of fruit is 3/4 cup to 2 cups.  I went with the lower end of the spectrum.  (Why these two pictures and captions are sticking together I do not know... but I'm too frustrated to try and fix it again... so please bear with me!
A tip I've learned is to place your measuring cup in a bowl (see picture above this one for the "before"), pour in your sugar (works for flour and other dry ingredients too), then level off using the flat edge of a knife or cake spatula.  The remaining sugar in the bowl can be put back into the bag/canister.  You don't have to worry about the crumbs on the counter getting swept into the bag ;-)
Here's the Pomona's Pectin (and a photo of the box so you have a visual when you go to the store).  Pomona's is available at natural food/health stores like Whole Foods.  I've also purchased it at Amazon.com because a bulk purchase of 6 boxes makes sense for me!  The pectin is the darker substance.  Most other pectins I've used are not this dark, but this is normal for Pomona's.
Stir pectin and sugar together well!  If you just add them to the boiling jam separately the pectin will clump and not work well.
Bring fruit mix to a boil.  Also notice in the background, a small pot of hot water in which the lids are sitting.  The sealant in the lids requires heat to properly seal the jars.  Most instructions will tell you to pour boiling water over them and let them sit in it.
Pour in sugar/pectin mixture and stir continually for 1-2 minutes, until jam returns to a boil.  Then turn OFF the heat. (This is different than other pectins so make sure you read the instructions with your particular box.)
So, at some point before my jam was boiling and needing the pectin, I removed the jars from the hot water where they had been waiting.  It doesn't hurt the jam to sit in the pot a few minutes after you turn it off, but it is best to ladle the jam into still hot jars to avoid that temperature shock we spoke about earlier.  This is where all our funky canning tools come into play!

I've placed a dishtowel on my baking tray, so that there is another layer to help with the hot/cold issue.  We don't want to ladel hot jam into cold jars, nor do we want to put hot jars on a cold surface.  The towel while not hot, just adds some cushioning and protection between the two different temperatured items.  Blue jar funnel helps lessen the mess.

Headspace (amount empty space between the fruit and the lid) requirements are different according to each recipe.  This recipe called for 1/4" of headspace.  I'm using my funky measuring tool to check.  If they have too much jam, use a teaspoon to remove some until it is at the right level.
You must wipe down the rims to remove any jam that may be stuck on top.  This can prevent the seal from being formed and ruin all your hard work.  I use a damp paper towel.  The threads on the sides should also be free of stickiness.
Now it's time to get the lids out of the hot water.  Using the magnetic wand lift a lid out of the water and bring it over to your first jar.

Center it over the lid, then screw on the band "finger tight".  To me this means as soon as my fingers feel resistance it's good.  We don't want to tighten these too tight as air needs to escape so that the jars will seal properly.  The bands just help keep the lids in place until the jars are sealed.  Repeat with all jars.

Bands added.  Ready to go into the boiling water canner.  (In my case, a giant stock pot)

Here we go.  Using the special jar tongs to lower them in.  There are also racks available that can sit on the edge of your pot and then you lower all your jars in at the same time.  I don't have one yet!
Here they are, all immersed.  I'll cover them and let them sit in the boiling water for 10 minutes (stipulated in my recipe, additional time required at higher altitudes).
After coming out of the boiling water canner. After a few minutes you should hear the pop of the lid sealing.  Seconds after taking this shot, I heard the first one.   Most standard recipes would indicate leaving them sit for 24 hours undisturbed.  Pomona's jams set when completely cool.  I've had issues with "fruit float", all the fruit floating to the top leaving a jelly on the bottom.  The troubleshooting page at Pomona's website directs you to do the following:
 

 "In the future, when you take the jars out of the water bath, leave them for about an hour to start cooling and seal. Then come back and check to make sure they are all sealed. If you see that you have fruit float, turn the jars upside down to force the pulp to redistribute through the jar. Come back in about 45 minutes and turn the jars right side up to once again force the pulp to redistribute through the jar. Check again in another 45 minutes and if you have a distinct dividing line, turn the jars upside down again. Turn the jars right side up again in about 30 minutes. You always want the jars to end up right side up. By keeping the pulp well distributed throughout the jars, there will not be a dividing line when the jell finally starts and locks everything into place. If your jam has jelled in a separated state, you can gently stir the pulp and juice back together when you open the jar to eat it. Separated jam in sealed jars will store safely."

This happened with my strawberry jam this year and my cherry jam last year.  So I researched it!  And here are my finished cooled jars:

No fruit float!  (Hey, there's red cherry jam there too!)


I managed to do the Rainier Cherry jam while Super Beautiful got in her nap, but then she wanted to help with the second batch.  Here are a few photos from that portion: (warning: your mouth may water and you may feel the need to drive to Virginia and get in on these cherries!)


That's it!  My first and possibly only photo step by step tutorial!  The folks at King Arthur Flour make it look too easy...  more hours than needed went into this, but I must admit I did enjoy documenting it.